UART on the Raspberry Pi: additional hardware UART or serial Pi console
The UART on a Raspberry Pi is quickly occupied: by a boot console, a cellular modem, a microcontroller, or the device that is actually being developed. The BE-IIS-HPP-UART separates these tasks cleanly. It provides additional hardware UARTs and can alternatively route the Raspberry Pi UART itself to the service interface.
Setup
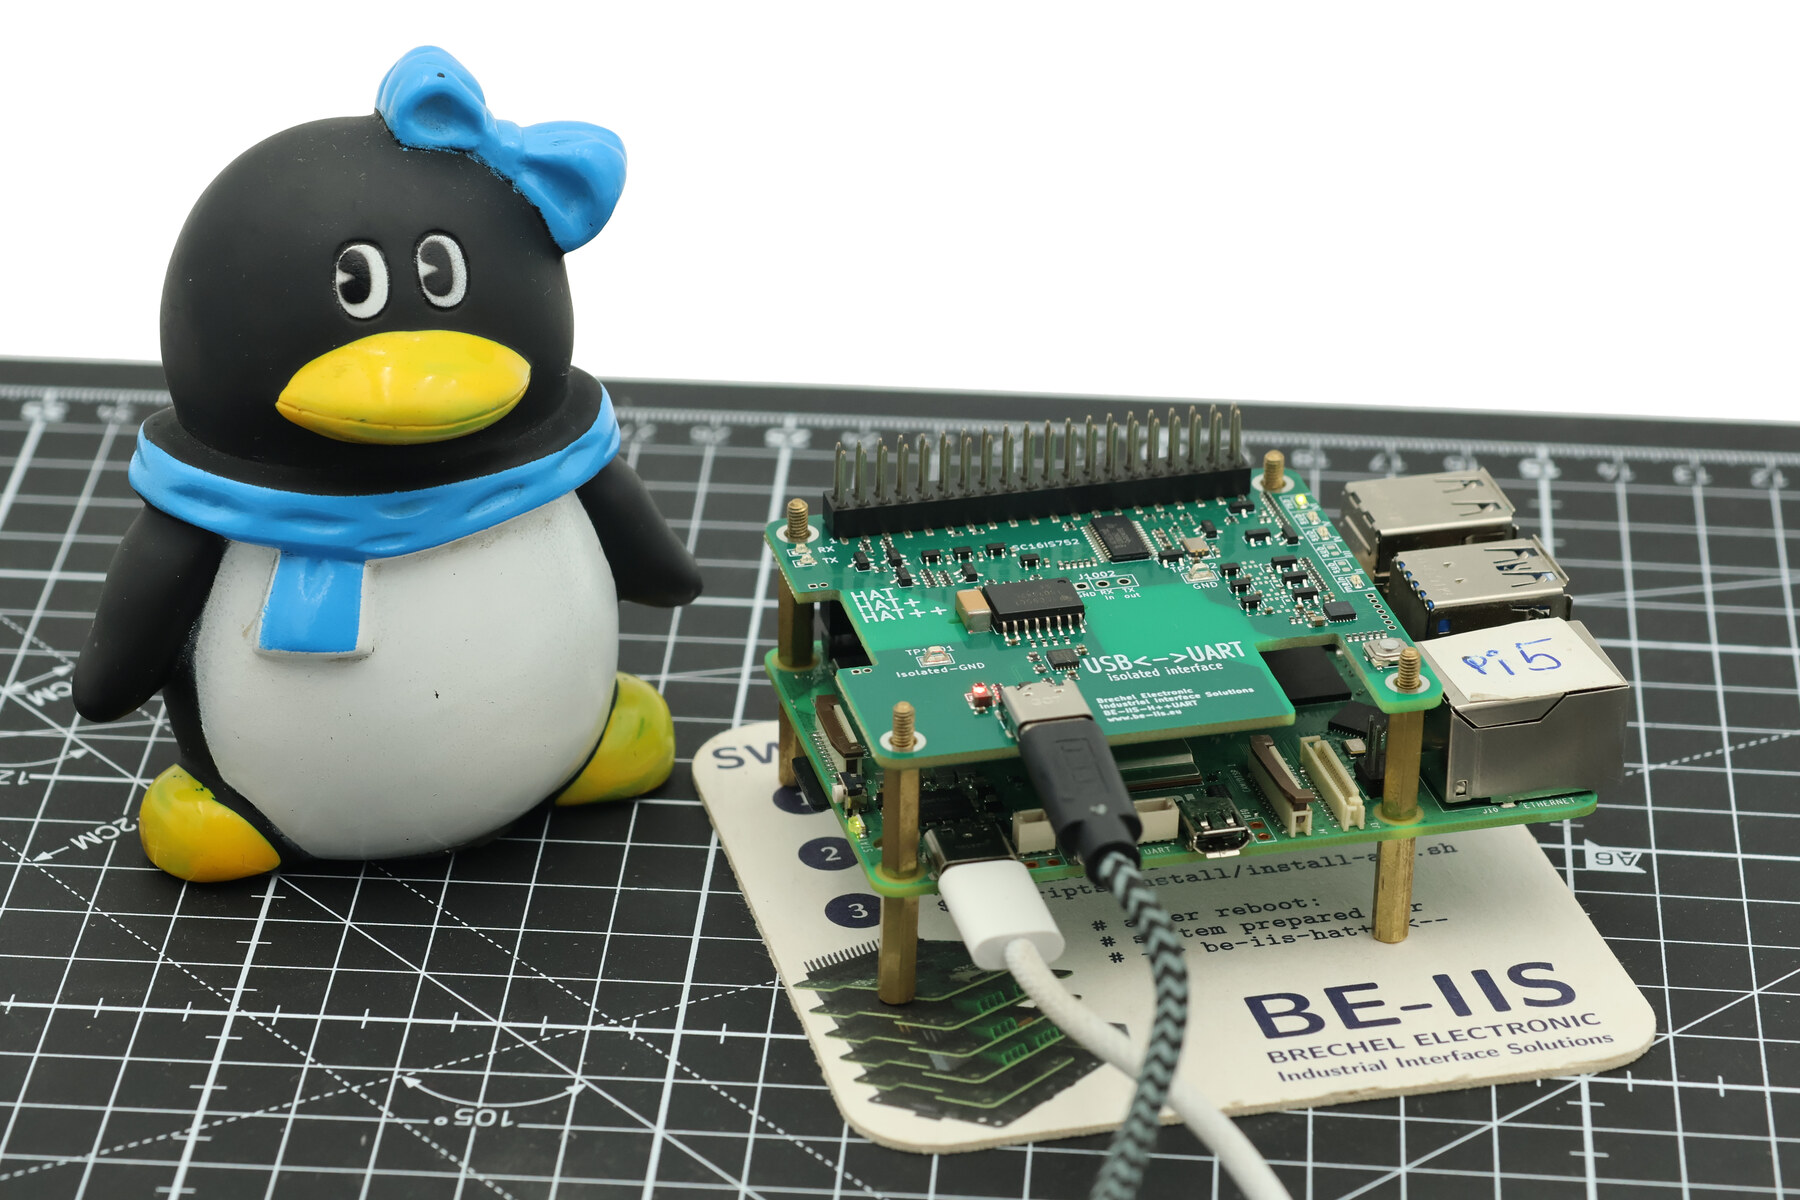
The HAT is intended for development setups, commissioning, and permanent serial-device integration. Interfaces are exposed as Linux devices with stable names. Scripts and applications therefore do not depend on whichever ttyS* or ttySC* number the kernel assigns on a particular system.
Two operating modes selected by the Instance ID
Instance I, IV, or V — HAT++ mode
Additional hardware UARTs are available.
Instance VI — Raspberry Pi mode
The HAT++ section is disabled and the Raspberry Pi UART is routed to the service interface.
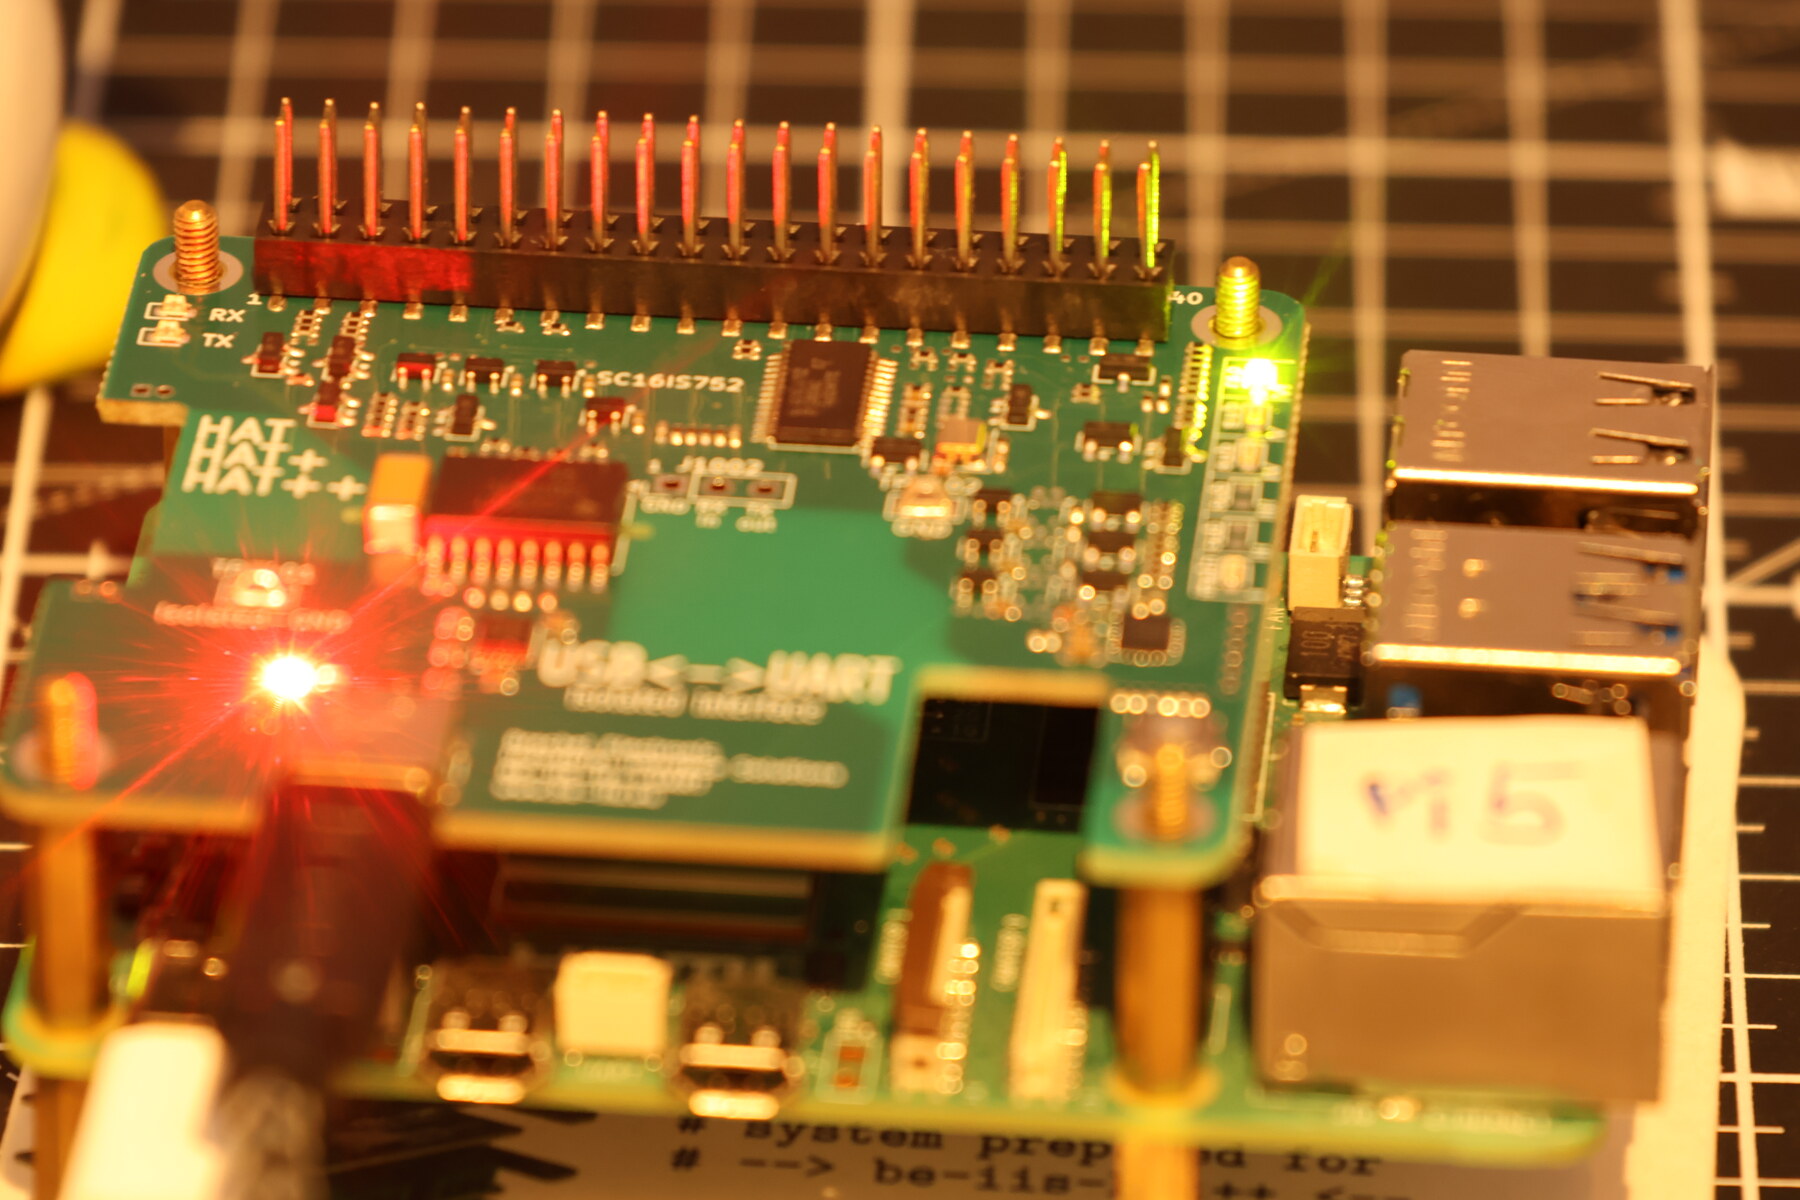
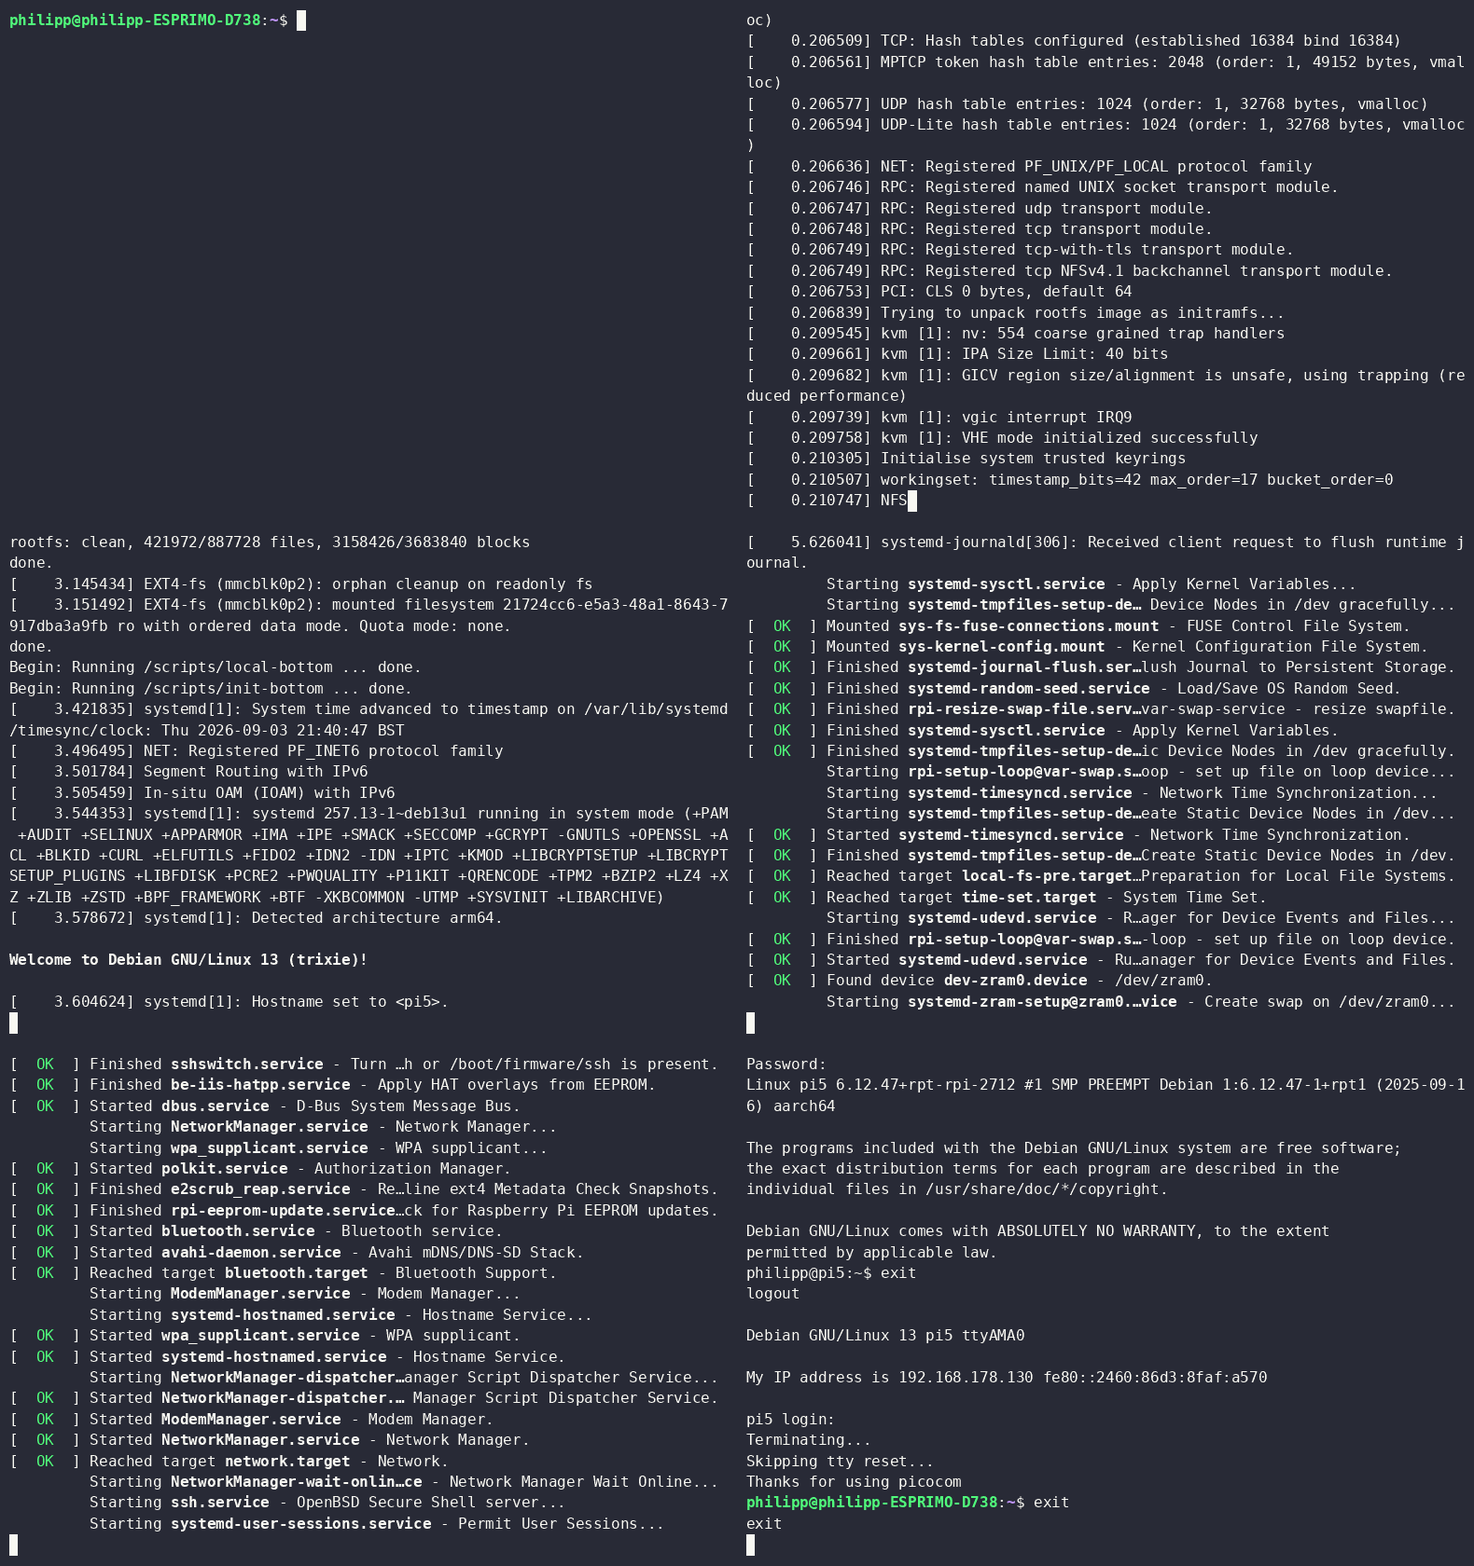
With Instance ID VI, the HAT is particularly useful when commissioning a Raspberry Pi without a display or network connection. Boot output, kernel messages, and the login console are available directly through the isolated USB-C service interface.
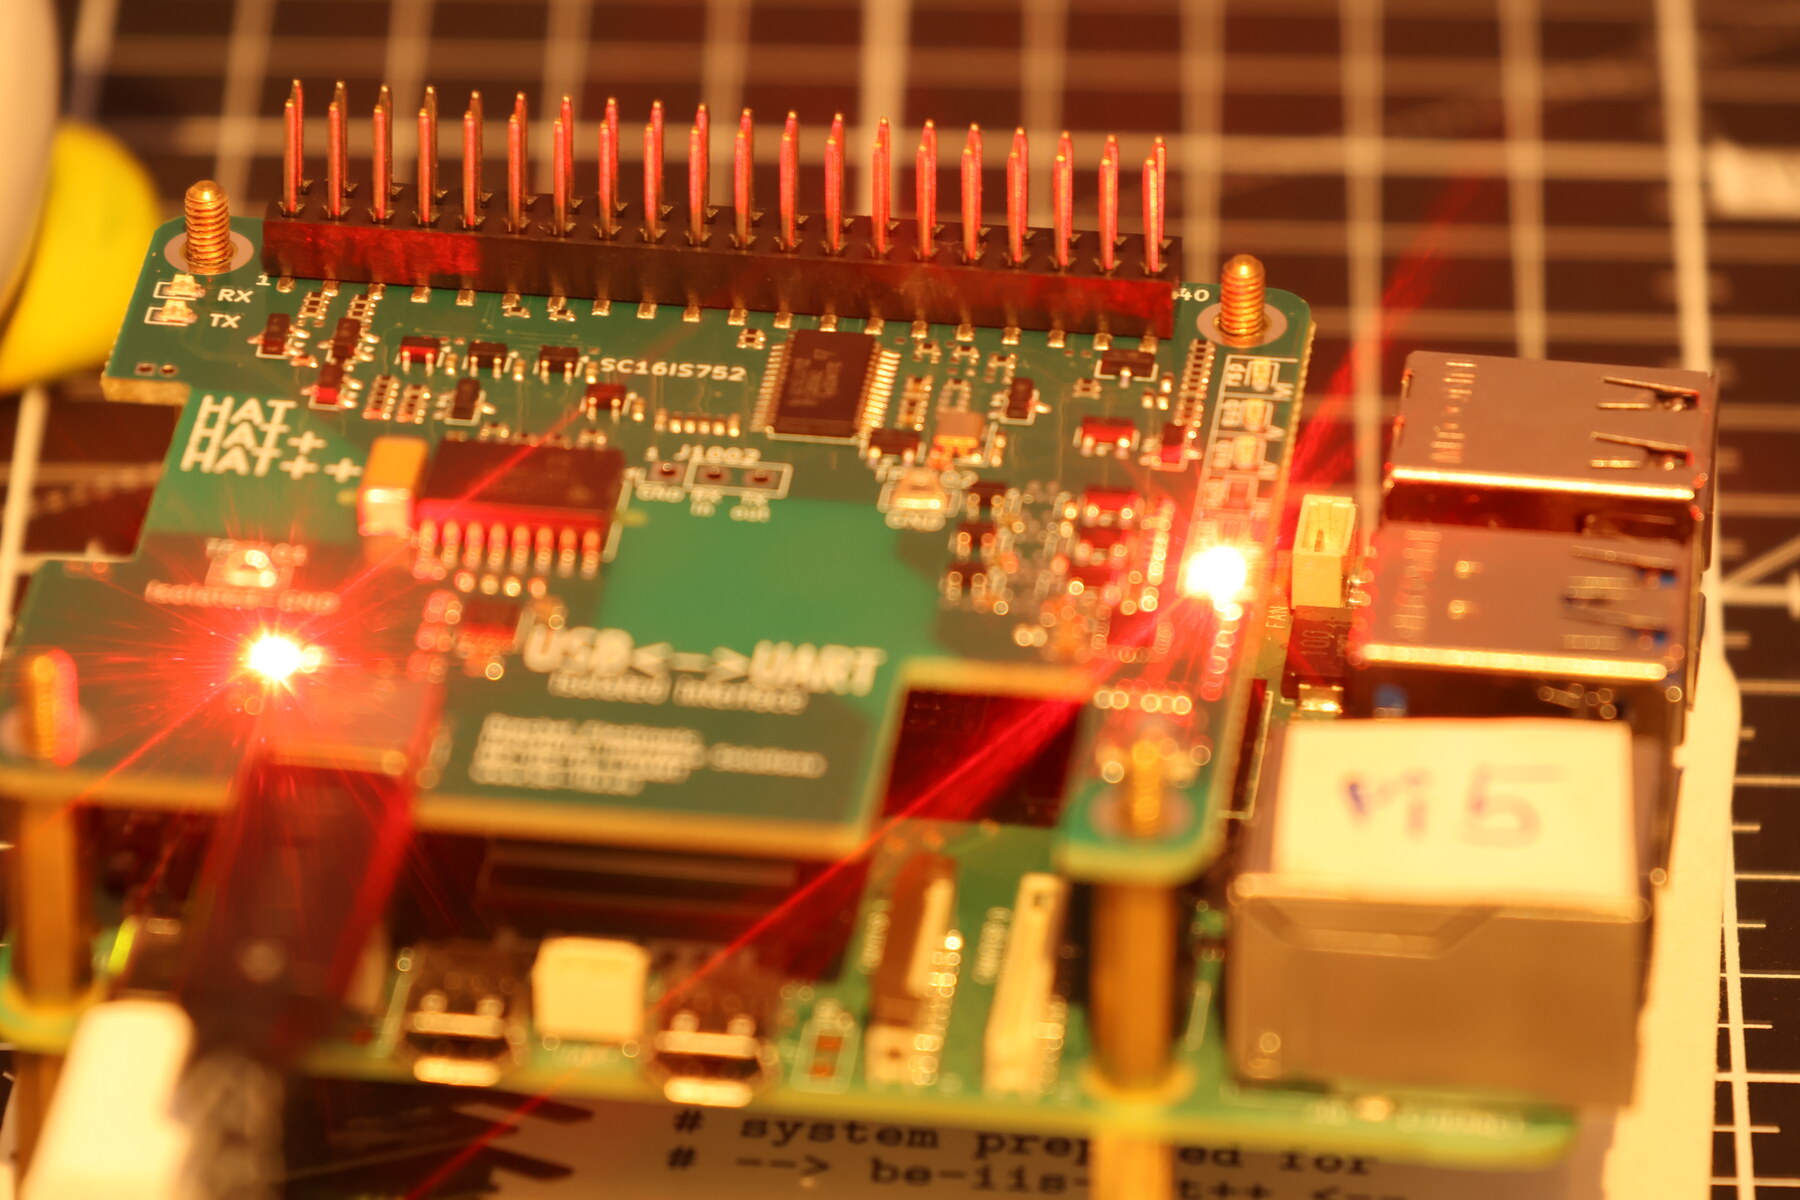
With Instance ID I, IV, or V, the HAT adds its own UARTs to the Raspberry Pi. The Pi UART remains available for its original task, while the HAT can connect a controller, sensor, debug interface, or another embedded system.
Installation
Integration is performed through the BE-IIS installer. It configures the required Device Tree overlays, drivers, and udev rules.
$ git clone https://github.com/be-iis/be-iis-installer.git
$ cd be-iis-installer
$ ./scripts/install/install-all.sh
$ sudo reboot
After reboot, the provided UARTs can be checked:
$ ls -l /dev/beiis-uart-*
Example for Instance IV:
/dev/beiis-uart-iv-a -> ttySC0
/dev/beiis-uart-iv-b -> ttySC1
The names include the Instance ID and channel. They can be used directly in applications, tests, and scripts.
Using an additional UART
In HAT++ mode, the UART is used like any other Linux serial interface. The following example sets channel A of Instance I to 115200 baud and sends a test message:
$ sudo stty -F /dev/beiis-uart-i-a 115200 raw -echo -ixon -ixoff
$ printf 'BE-IIS-HPP-UART: Interface ready\r\n' | sudo tee /dev/beiis-uart-i-a
The remote side can, for example, be connected with picocom:
$ picocom -b 115200 --flow n /dev/ttyACM0
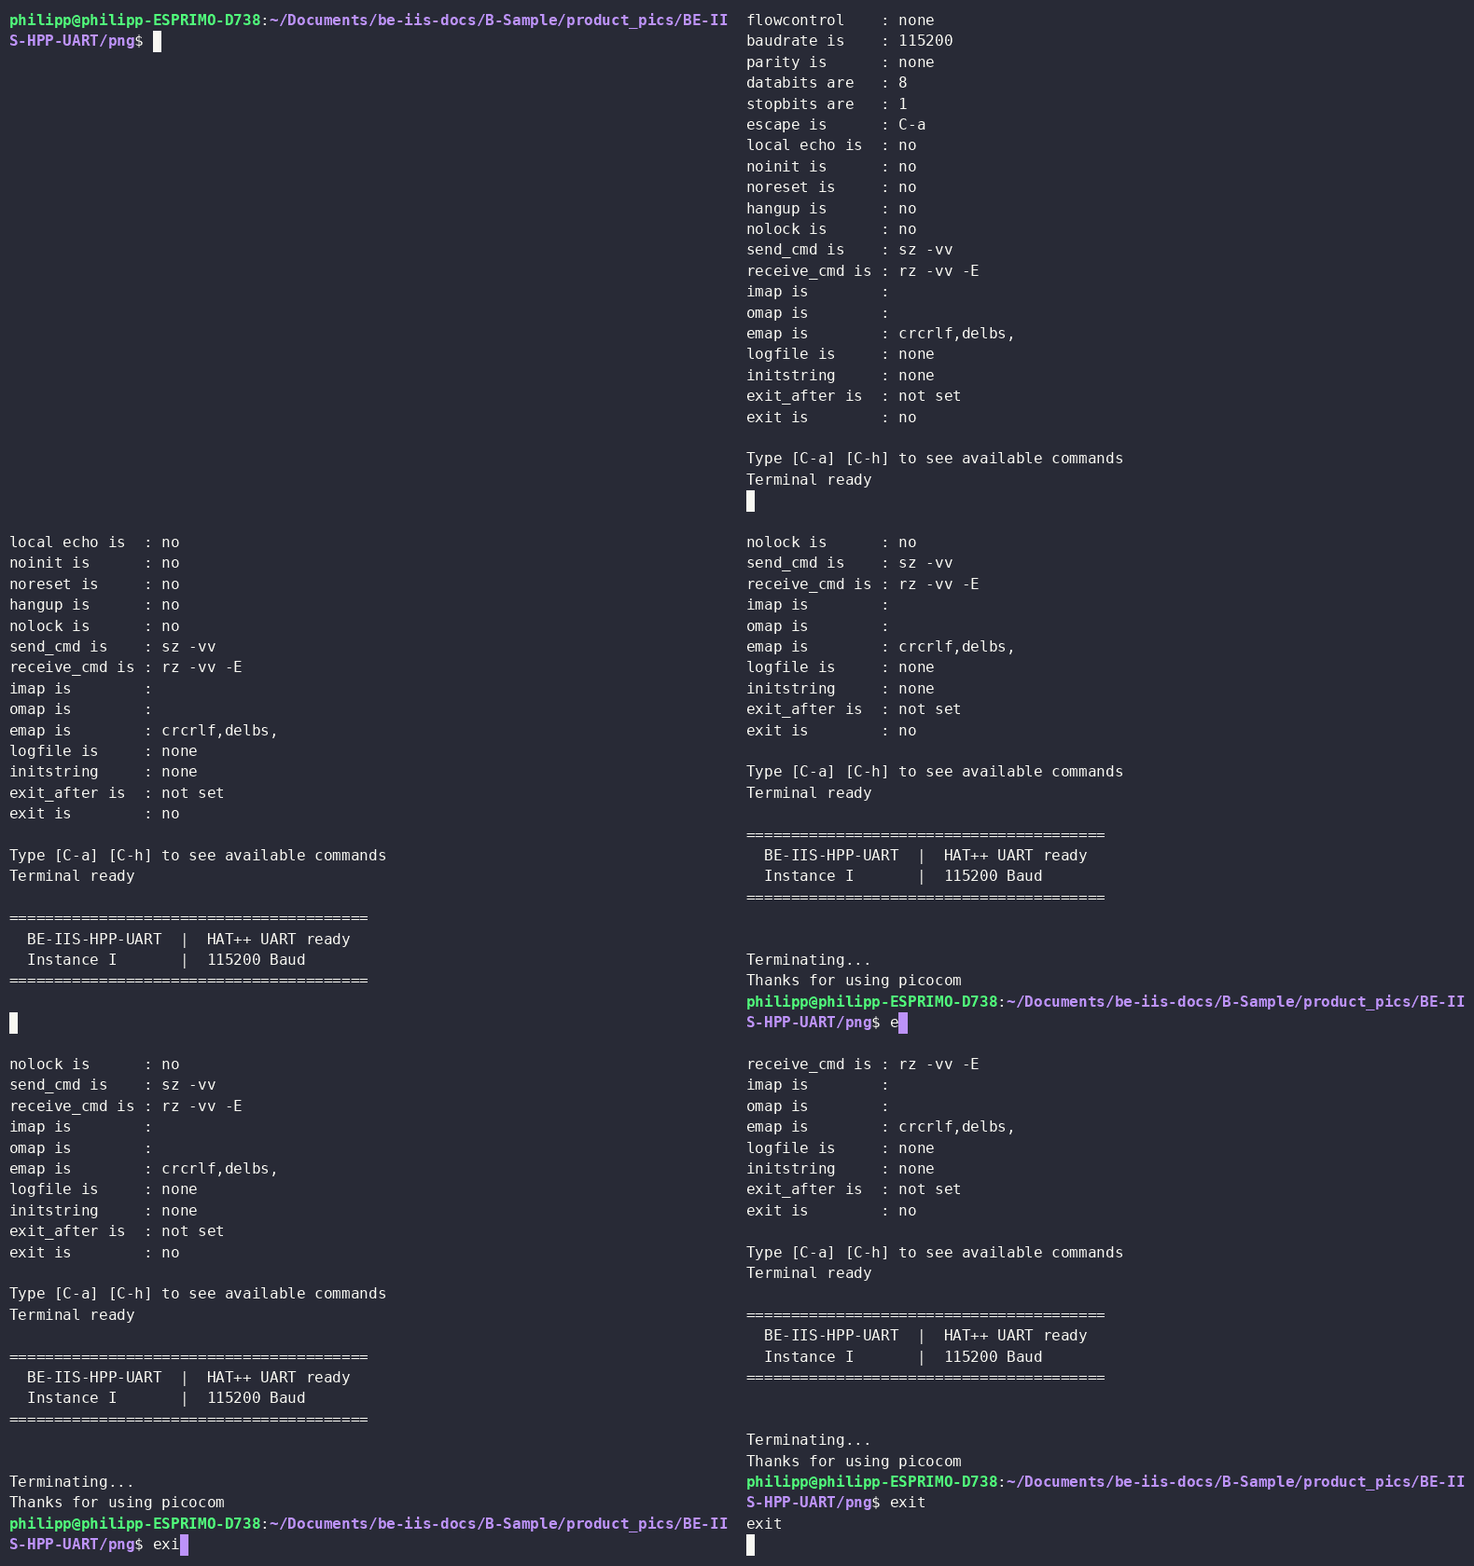
The HAT UART is therefore an additional tool in the setup, without reassigning the Raspberry Pi UART or resorting to USB-to-serial adapters.
Raspberry Pi UART as boot and login console
With Instance VI, the Raspberry Pi UART itself is used. For boot output, add the following lines to /boot/firmware/config.txt:
enable_uart=1
dtoverlay=uart0
Enable the serial console in /boot/firmware/cmdline.txt as well:
console=serial0,115200
After reboot, boot messages appear on the service interface. A serial login console can then be used in the normal way through serial-getty. On a Raspberry Pi 5, Bluetooth does not need to be disabled; it uses a separate PL011 UART.
Conclusion
The BE-IIS-HPP-UART is not a simple USB-to-UART adapter. It provides additional hardware UARTs with stable Linux device names and, with Instance VI, a clean connection to the Raspberry Pi UART.
This makes it suitable for debugging, serial-device integration, prototypes, and commissioning Raspberry Pi systems in laboratory and professional development setups.
From engineer to engineer.